I’ve had multiple requests and questions about how to further modify ones fenders on a 05-07 GD Subaru Impreza WRX STi. For some people, the normal fender mods seen here in my previous article are not enough to fit their more aggressive wheel fitments. This is also known as a fender pull, even though there is no physical pulling of the fender. I haven’t forgotten about the guys looking for the wider wheels or lower offsets. A big thank you goes out to Matt aka. The Limited Project for documenting his process. This is the exact process I did for my personal car. Lets get straight to it!
Materials:
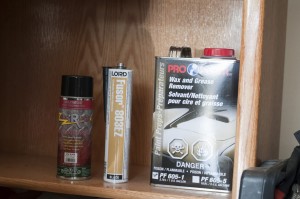
plus the following:
– Work gloves
– Rubber gloves
– 20 ratcheting clamps
– 4-4.5inch grinder
– Ear plugs
– Billions of shop towels/rags
– Patience
– A camera to document your artwork
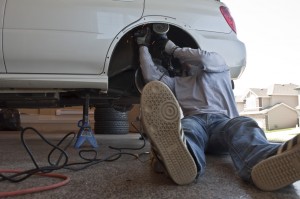
1) The most obvious part – get the car in the air and remove the wheels.
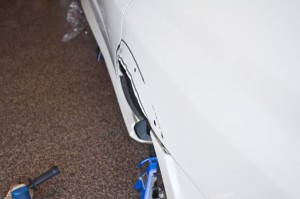
2) Remove the rear fender trim. Be careful as they easily snap…… Remove the remaining part of the clips that are stuck in the fender.
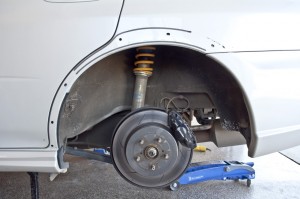
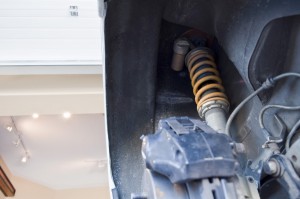
The target –
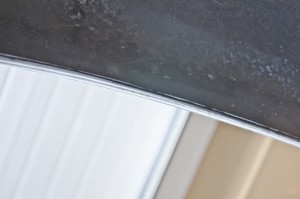
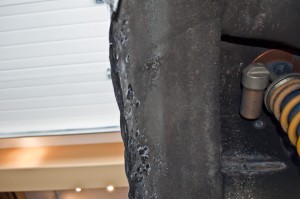
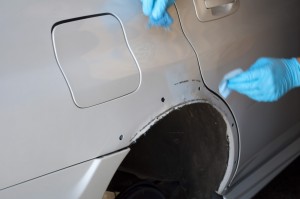
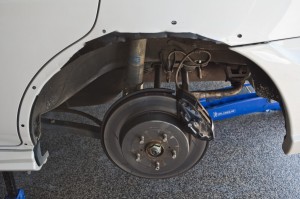
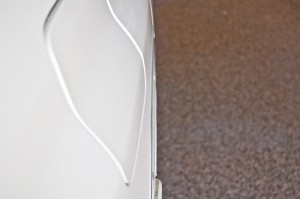
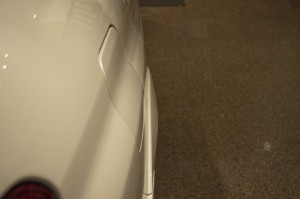
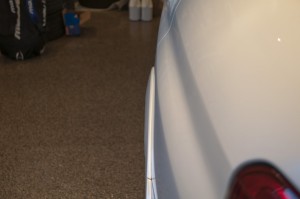
3) Inspect what needs to be grinded. In the pics below, you can see the inner lip on the rear fenders that is the target of the grinding wheel. That needs to be removed so that you can hammer out your fenders. There is no pulling or massaging here, just brute dead blow hammer crushes, and ball peen shaping.
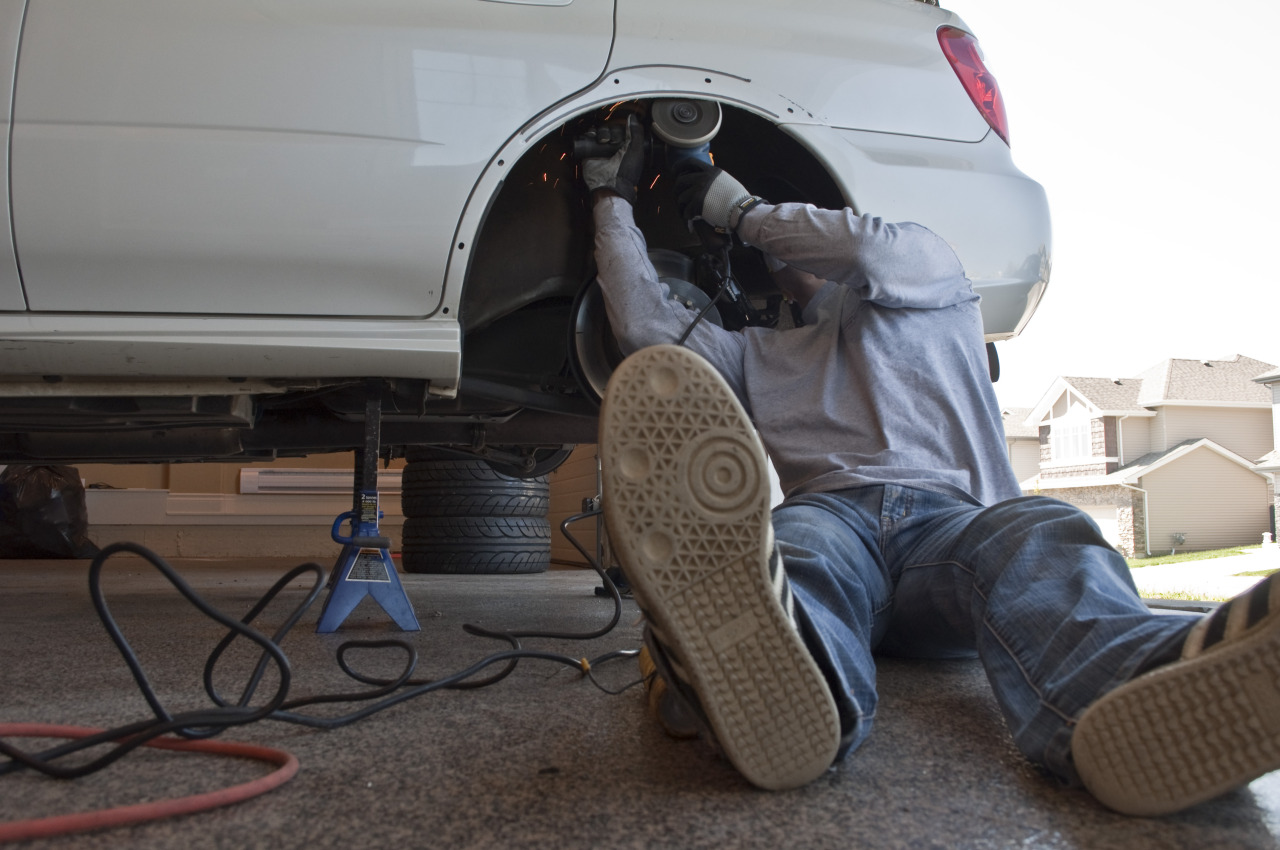
4) Bust out the grinder, and go to town.
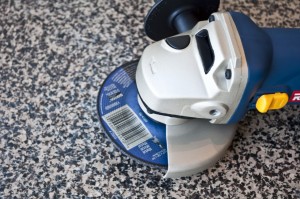
This will take some time and patience to get right. Avoid digging the grinder in, just smooth, light-pressure grinding to get a good result. There are 4 spot welds that hold the inner sheetmetal to the outer, so getting close to those is what I used as a guide.
5) Now that the fenders are ground flush, the next part is to take the dead blow hammer and ball peen and work your fenders. In the other guide, the guy used the urethane sealer and adhesive at this part, but I didn’t see the usefulness in that. The fenders will shape much easier without gobs of that hell’s juice everywhere.
So, take the ball been and lightly hammer up on the edge of the fender. Then take your dead blow and hit it harder above the edge, and eventually you’ll push the fender out an acceptable amount. Since I’m running tires that have no business on a Subaru, I decided to go as far as possible. The end result was serious paint chipping and a hideous unfinished product. No worries though, all that will be dealt with.
6) Now that both fenders are smashed out, it’s time to fill the gaps between the two pieces of sheet metal (inner and outer fender pieces) with the hell juice, otherwise known as Lord Fusor 803EZ. I’ve worked with some gross stuff before, but this concoction takes the cake. It gets on everything, it smears like a mofo, it’s tenacious, and it requires a lot of patience to work it properly. As an aside, if you overdo it on this stuff on the fender trim, have fun trying to get this stuff off while trying to get the clamps on a clean surface. Not amusing.
Anyway, fill the gap between the outer piece of sheet metal and the inner. If you have to, pry the pieces apart, and force the applicator tip in and fill it with the urethane. I then used a pair of pliers to squeeze the two pieces together. At this point, I wasn’t worried about gaps or perfect clamping, just to get the fill and adhesion process started.
7) The next step, which can really be done at any time, is to remove the double-sided tape that the fender trim pieces left on the fender itself. This is like debadging – use a hair dryer or heat gun, a little adhesive remover, and the area is clean in minutes.
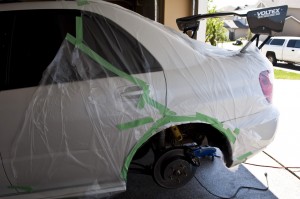
8. Next is prepping for rust paint. While the Fusor is setting, take that time to completely mask off the area for paint. Since I had some serious paint chipping from the amount of hammering I did, I needed to rust spray the outside lip as well. See pics below.
9) Now that everything is masked off, go to town with the rust spray. Be sure to coat the interior wheel well very well, since the grinder will leave a lot of… uh… grind marks in a lot of places. Also, if your paint chipped on the lip, spray that down too.
10) Let the paint cure for a bit, and remove all the tape and plastic.
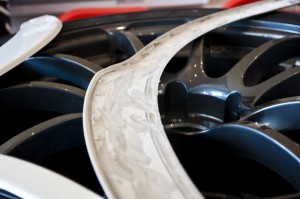
11) While the paint is drying, the next part is to grind down the inside of the fender trim. There are little foam pads, the remnants of the clips, and a bunch of raised lips and plastic on the inside. All of that has to go to ensure good, flush contact with the fender.
12) Now that the paint is dry and the fender pieces are prepped, it’s time to bust out the hell juice again. Apply liberal amounts to the fender and the trim piece, and have all your rubber clamps ready to rock.
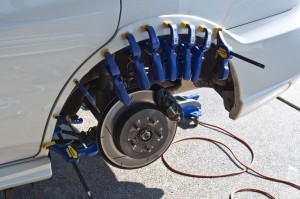
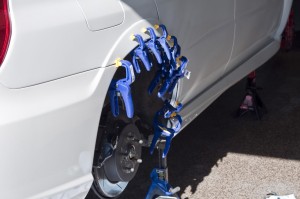
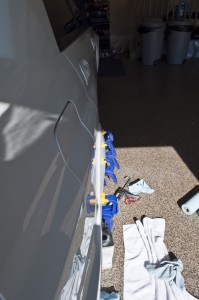
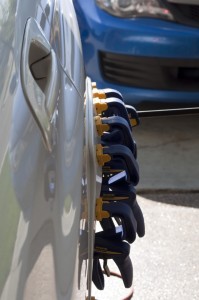
13) Once everything is properly coated, replace the fender trim where you think it should go, while having a bunch of the ratcheting clamps on standby. I found it easy to start at the junction with the bumper, throw a clamp down, reposition, and then continue to clamp from back to front. The end result looked like this –
14) The 803EZ sets within 30 minutes, but I left the clamps on overnight just to make sure. You’re reshaping the trim piece so I figured it was better to have the hell juice take care of business for as long as possible before removing the clamps. According to the product info, full cure time on the 803EZ is 72 hours. The finished product will look like this:
Doing a proper fender pull on the 2005-2007 Subaru Impreza WRX STi is possible in your own garage. Now if you’re not looking to do this sort of work on your own there are many reputable shops willing to do this sort of work for you. Don’t hesitate to shoot us an email if you’ve got questions or are looking for contact info of any shops in your area who do quality fender work.
Also, if you’re a shop looking to advertise don’t hesitate to email us either. We’re always looking for quality companies that want more exposure to the DIY Subaru Community.
Big thanks goes out to Matt (LimitedProject) for being willing to document the cutting up of his awesome 2007 Subaru Impreza WRX STi.
Now grab your angle grinder and get to work!! (Just be careful).
-T3h_Clap
