With the help of a close friend of mine on the opposite side of the United States, we decided it was time to write a simple and detailed how to for this mysterious process.
Here’s the step by step on how to properly modify the rear fenders on a 2005 to 2007 GD Subaru Impreza WRX STi:
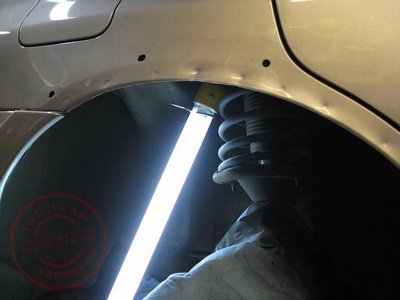
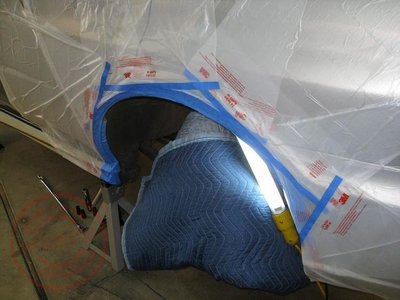
– Removed rear fender garnish using Kyoto (KTC) panel removing tools. They’re made of a high grade plastic and designed to do minimal/no damage to surrounding parts. Generally used on interior trim piece removals. Very handy stuff for the garage. Link here http://ultimatetoolco.com/panelpopperkit.aspx This picture was actually taken later once I’d ground out the inner lip, but this is essentially what the rear fender will look like once the garnish piece has been removed.
– Next I used a 4 inch angle grinder with a 50grit disk to remove the inner lip. I have a lot of experience with these, so I wasn’t too worried about doing this myself. You have to be pretty careful with this as it removes a lot of material really fast. It can also dig in, which can rip the grinder out of your hands, or send it shooting into something you don’t want ground up. Use caution, and WEAR SAFETY GOGGLES. I’ve seen these disks come apart. Since the tool spins at about 10,000 RPMs it will gladly deposit the pieces into your eye. This will absolutely suck, as well as delay your project while you’re at the hospital having chunks of disk or metal shavings removed from your eye. Just put the damn goggles on and thank me later.
– When I ground this down I used a smooth back and forth motion on the inner lip. Moving from front to rear with steady pressure. That way you end up with nice even material removal, and less chance of the tool grabbing. In my case I wanted to remove as much material as possible to gain max clearance. You’ll notice that the rear quarter panel is actually two pieces of sheet metal joined together, an inner and outer panel. Just above the actual lip, you can see a line of spot welds which hold these pieces together, and give the quarter panel its strength. I wanted to preserve these so as not to weaken any of the structure. Race cars are stitch welded along seams where panels meet, which provides great additional chassis stiffness. So, any time that you’re removing spot welds in a car, you’re losing little bits of structural rigidity and chassis strength. I’ve seen the spot welds cut out of STis before, and there’s nothing wrong with that. But if it were me, I’d either re-weld the panels or use some body panel bonding agent to get the strength back. I’m only running 255s in my application on an 18×9 +45 wheel, so I didn’t see the need to go that extreme. YMMV.
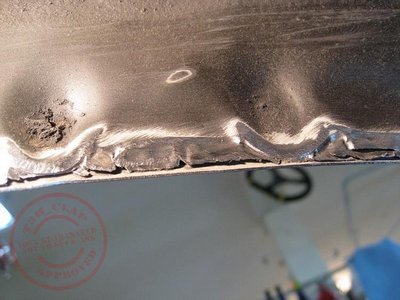
– Once you have the lip ground off, you’ll see that the 2 panels separate between the spot welded areas and there will be gaps that are open which moisture can enter.
– I spoke with a local auto body supply shop who recommended a product that I could shoot into that gap as well as cover the completed area, and reattach the garnish piece with.
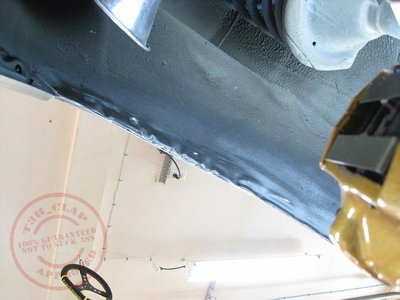
– Use a screwdriver to open the gaps up so that the goo can be shot up into the area between the two panels. Theoretically this will add strength to the area as well. But for sure, it’ll keep moisture from sneaking between the panels and causing a rust problem in the future. Here’s a shot of the panels separated for goo application.
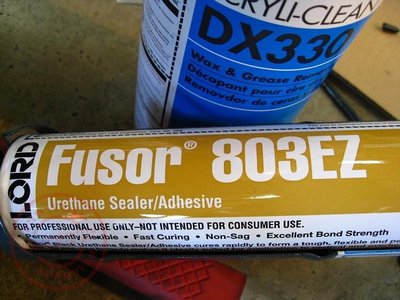
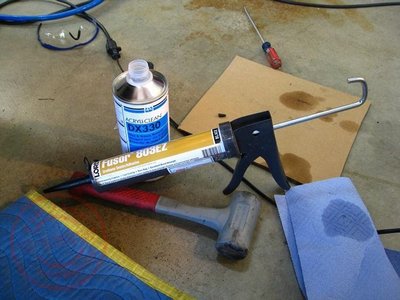
– A pic of the aforementioned goo. This is “Lord Fusor 803EZ” which is a professional urethane sealer/adhesive.
– You’ll likely only find this product at body shop supply stores. Not intended for consumer use, blah blah blah. You just put the stuff into a regular applicator gun like you use for grease or caulking.
– No worries. GLOVES come in very handy with this stuff. Once it’s on something, it’s pretty much on it. I cut the application tip only a little so that I could get the goo to squirt into the gap between the sheet metal panels. Then I used my finger to force as much of the goo in there as possible. After I was sure that I had plenty of adhesive in there, I used a body hammer to tap the gap closed.
– Wax and Grease remover is also extremely handy when working with the Fusor. It will remove the adhesive when it’s wet, right after you’ve applied it. After it drys, good luck getting it off anything. It comes in handy cleaning up tools like the dead blow hammer in the above pic, your hands, etc.. I use PPG Acryli-Clean. It’s not the cheapest wax and grease remover you can buy, but works very well. This can be purchased at an auto body/paint supply shop as well. I probably used 4-5 full rolls of blue garage towels during this process. Messy!
– Once the goo had some time to cure, I went ahead and used the dead blow hammer pictured above to “massage” the fender. The term “Pulled fender” is a little misleading, as usually this is done by hammering the fender out from the inside. However, the term “Hammered fender” doesn’t sound nearly as nice. 😉
Here’s a picture from above after moving the fender lip out a bit with the hammer.
– After hammering the lip out, I applied a skim coat of the Fusor product over the entire inner lip area where the gap was.
Then I prepped for paint!
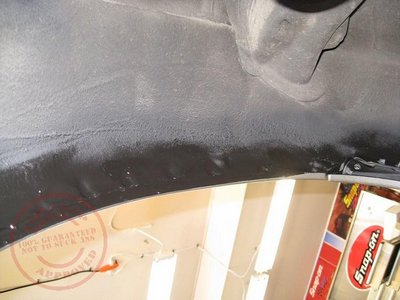
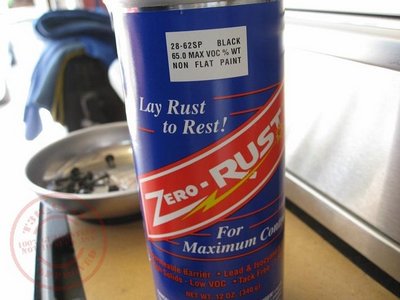
and applied some “Zero Rust” black paint to seal the area.
Then it’ll look something like this!
Yup, just blackness.
Now, on the the garnish piece!
– The nice thing about having the garnish piece to cover this is that you don’t have to be a professional body guy to pull this off. With some basic tools, products, patience, and time… you can do this. The above pics are not the final position of the lip, but close. I worked it out a bit more before reattaching the garnish piece.
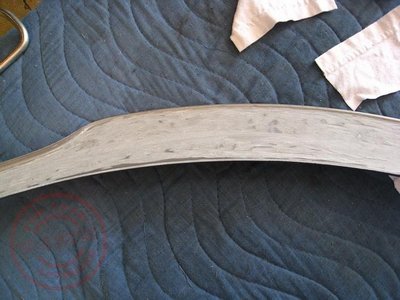
– OK, so you’ve destroyed the clips on the garnish what to do? Well, even if you had saved the clips and the male attachment points that are on the inside of the garnish piece, it wouldn’t fit right when you put it back on the car. The reason for this is that the garnish is now in a sprung state. It’s shaped to fit your fender opening before you went and messed with it. So follow me here. If you push it flat to the top of the wheel opening, the ends of the garnish will stick out, and vice versa. That’s OK, because the Fusor 803EZ generally rules, as it has nuclear holding strength. Bear in mind that my method will make the garnish fit perfect. But you aren’t going to be taking it off any time soon. The way I figure it is that the only time that would have to be taken off is if someone stuffed me in the quarter panel. So, permanent is just fine for me.
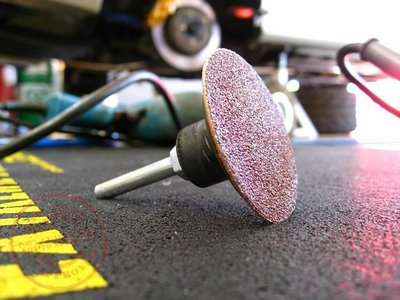
– Before I put the garnish back on, I used the 50 grit sanding disk on the 4 inch angle grinder to remove all the “positive†areas of the inner side of the garnish. Basically, I ground every thing off of it. All the posts that hold the clips, etc. I also removed the lip portion which sits 90 degrees perpendicular to the quarter panel, making for max tire clearance. If your skeered of that big grinder for this delicate work, you can use a mini version of the grinding wheel on a 3M Roloc adapter and put it on a drill. For most people, I’d recommend this. I’ve spent way too much time with a 4 inch grinder, and am very comfortable with it. But you could very easily destroy the garnish piece if you aren’t super precise with the sanding disc.
Here’s a pic of the Roloc adapter with a sanding disk on it. Insert into standard hand drill, for a much more controllable grinder.
For some reason it’s hard to capture with a camera, but here’s the garnish piece with all the positives ground off. Ready for adhesive.
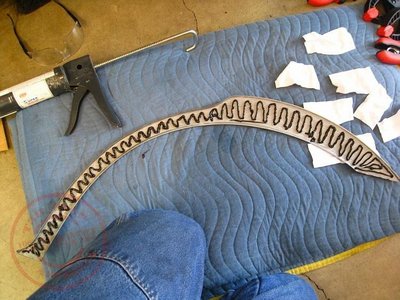
Now, apply the Fusor to the garnish piece. As you can see, I was pretty liberal with the product!
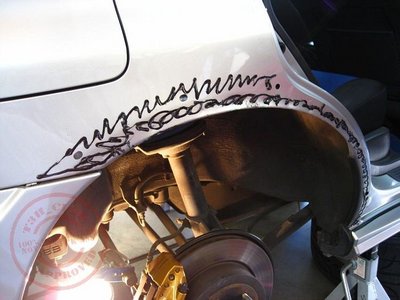
Probably forgot to mention that I’m a little OCD.. so, I put some on the quarter panel as well after wiping it down with wax and grease remover.
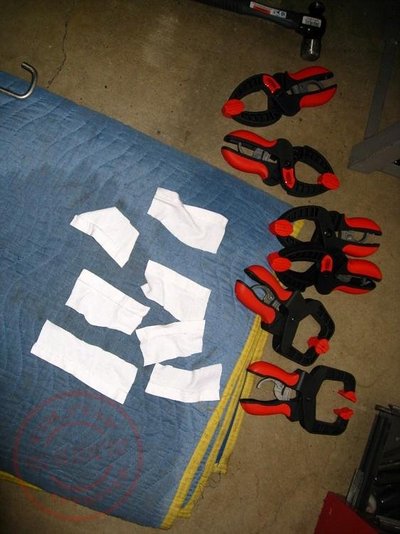
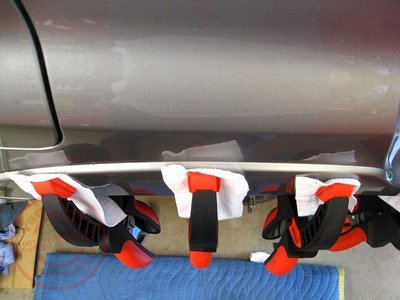
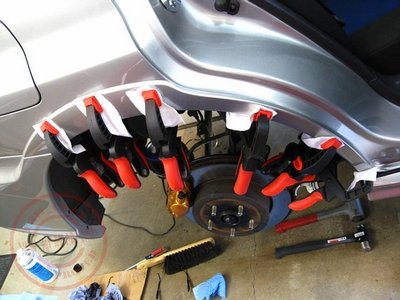
– OK, remember the whole thing about the piece being in a sprung condition. Now, we need to convince it that it needs to be a different shape. I’m a little anal retentive to go with the OCD part, so off to Lowes for ratcheting clamps.
Clampage….
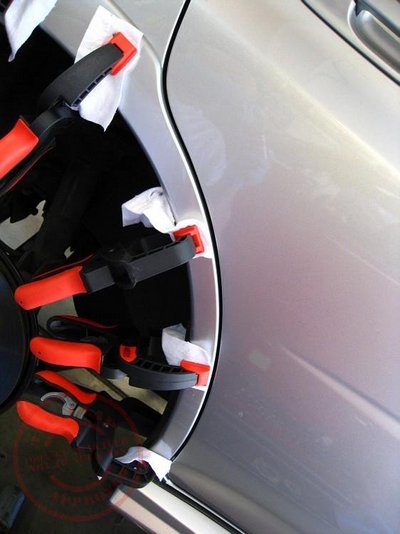
– You can see in the pic above that I cut up a cotton t-shirt so that I had something soft to sit against the paint instead of just the plastic clamp head. I know I over did this, but the result is excellent.
Clampage installed!
Yeah! try and move now, sucker. Pwn3d!
You’re not going anywhere!
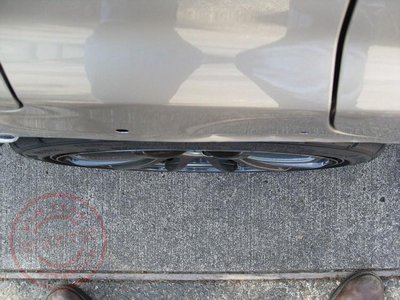
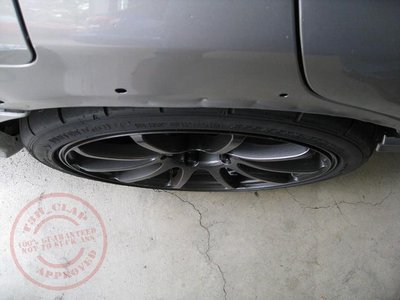
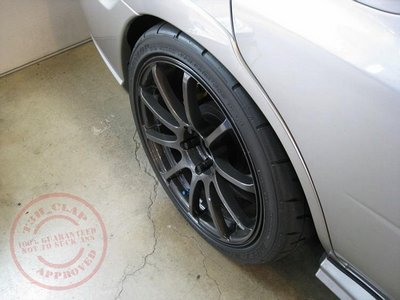
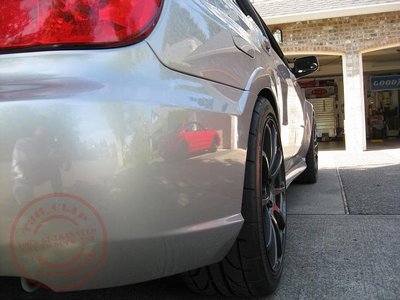
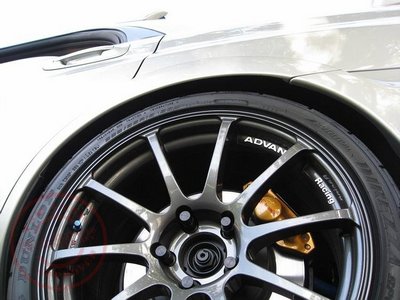
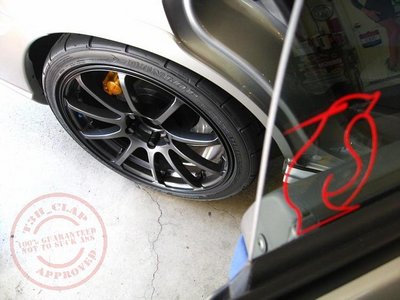
– The next pics are of the wheels and tires on the car with COBB springs on factory struts. That was the previous owners setup. RCE Tarmac 2s and camber plates front and rear on the way!!!
They’re tucked in more with the RCEs, but this is with the COBBs and the car sitting at approx 1.6 deg negative camber in the rears. My being able to adjust camber at the top and mid-bottom of the wheel you can effectively pull the entire assembly in a bit. (subject to inboard clearance). With this setup, I was able to pull in the fronts and rears a bit. I had a tick too much poke in the front for my taste. With the RCEs in the car it fits perfect. I’d have a few pics of that as well, but my camera seems to have gone on holiday without me! No clue where it is.
But this is just pure goodness.
Oh yeah!
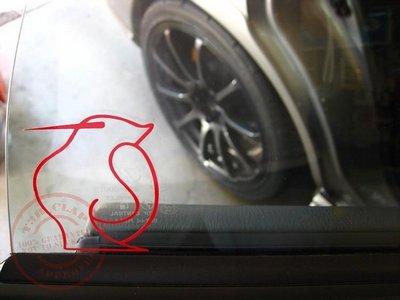
Even the guy from Penguin Garage approves of this setup. If he had opposable thumbs, he’d be giving a thumbs up here!
Lets just say I’m a little more than pleased with the outcome myself.
As always, any questions don’t hesitate to ask.
wheelhelp@t3hclap.com
I’d like to thank Brad for the great photos, doing the write up and taking the plunge in doing the process.
-t3h_clap
I always wonder how this procedure was done… awesome write up Drew! Now if I was only a little closer to Florida so you could do my fenders =)
Awesome info, thanks alot.
Awesome.
awesome stuff man, looks great
great website tehclap! I appreciate what you are doing for the community! Keep pushing the aggressive fitment!
Used the instructions and everything worked out very well. Great job!
Very precise writeup, im planning to use this for the following… staggered setup with 18×9 +45 advan rz, 265/35 nitto nt05, bc racing coils w/camber plates and 10mm spacers in the rear. Any thoughts?
Why did you end up taking the fender garnish off? It seems like the inner lip could be ground off without taking the garnish off.
Once you start hammering/pushing the fender outward the stock clips for the garnish no longer hold and will pop off. Removing the garnish allows you to properly secure it back on.